
I made this for the first time after a neighbour left a crate of plums on my doorstep with a note that just said “please take these off my hands.” I had no plan for that many plums, and jam felt like the only sensible answer. I’d never made jam before, and I was fairly sure I was going to ruin it. I didn’t. This recipe is about as forgiving as jam gets, mostly because plums already have enough natural pectin that you don’t need to mess about with jam sugar or pectin sachets.
This is the classic British method, equal weights of fruit and sugar, a splash of water, and a knob of butter at the end to deal with the foam. You’ll see the same basic ratio credited to Mary Berry across a lot of recipe sites, and while I couldn’t pin it down to one specific book of hers, it’s the method she’s associated with, and it’s a genuinely reliable one. What I can tell you is exactly how it behaves in a normal kitchen, because I’ve made it more than once since that first batch.
Jump to the recipe card at the end of this page for exact quantities and a printable version.
What’s in It
Just four things: plums, water, sugar, and a small knob of butter. No pectin, no lemon juice, nothing fiddly. Plums are naturally high in pectin, especially if they’re not fully ripe, so the classic equal-weights method sets well on its own. Full quantities are in the recipe card at the end of this page.
How I Make It
- Soften the fruit. Wash the plums, halve them, and remove the stones. Put them in a large, heavy-based pan with the water. Bring to a gentle simmer and cook for 10 to 15 minutes, until the skins are completely soft. Don’t rush this part. If the skins are still tough when you add the sugar, they’ll stay tough in the finished jam.
- Dissolve the sugar. Tip in the sugar and keep the heat low. Stir with a wooden spoon until every grain has dissolved completely. This matters more than people think. If you boil the mixture before the sugar’s fully dissolved, you can end up with a grainy, crystallised jam instead of a smooth one. Take your time here, even if it feels slow.
- Boil rapidly. Turn the heat up and bring the jam to a full, rolling boil. Let it go for about 10 minutes, stirring now and then so it doesn’t catch on the bottom. This is the stage where the pectin actually activates and the jam starts to set.
- Test for set. Put a small plate in the freezer before you start cooking, so it’s ready when you need it. Take the pan off the heat, spoon a little jam onto the cold plate, and wait 30 seconds. Push it with your finger. If the surface wrinkles and holds its shape, it’s done. If it just slides, put it back on the heat for another 2 minutes and test again.
- Finish with the butter. Once you’ve hit setting point, stir in the knob of butter. It sounds like an odd step, but it works almost instantly, breaking up the frothy scum on the surface so you’re left with a clear, glossy jam instead of a cloudy one.
- Settle, then pot. Let the jam sit in the pan for about 15 minutes before ladling it into jars. This isn’t optional if you want even distribution. If you pot it straight away, the fruit pieces float and you end up with jars that are mostly syrup at the bottom and mostly fruit at the top. Fifteen minutes of patience fixes that.
How Many Jars This Actually Makes
This is the bit most recipes skip. A kilo of plums and a kilo of sugar doesn’t turn into a kilo of jam, you lose some volume as water boils off, but you also don’t lose as much as you’d think, since the sugar itself adds weight back in.
Based on how this ratio performs in practice, you’ll end up with around 1.6 to 1.7kg of finished jam. That’s roughly five standard 340g jars, or three to four if you’re using the larger 450g jars. If you’ve got more plums than that and want to scale the recipe up, just keep the fruit and sugar at a 1:1 ratio by weight and the water at roughly 15% of the plum weight, and the yield scales the same way.
The Pectin Trick Nobody Mentions
This is worth knowing before you buy your fruit. Pectin, the stuff that makes jam set, is at its highest in fruit that’s just short of fully ripe. Very ripe, soft plums taste better on their own, but they’ve already started to lose some of that pectin, which makes the jam more likely to end up runny no matter how long you boil it.
If you’re picking plums yourself or choosing them at a shop, go for ones that are firm with a little give, not soft and squishy. You’ll still get a jam that tastes great, and you’re far less likely to end up boiling it for an extra 20 minutes trying to force a set that isn’t coming.
Common Mistakes and How I Fixed Them
Jam won’t set. This is almost always one of two things: the plums were too ripe, or it wasn’t boiled long enough. Give it another 5 minutes at a full rolling boil and test again. Don’t be tempted to add more sugar to fix a set problem, sugar doesn’t create pectin, it just sweetens.
Jam crystallised and feels grainy. This happens when the mixture boils before the sugar is completely dissolved. There’s no fixing it once it’s happened, but next time, stir patiently over low heat until you genuinely can’t feel any grains against the spoon before turning up the heat.
Too much foam on top. The butter should clear most of it. If there’s still some left, skim it off with a spoon before potting. It’s not harmful, just not the prettiest.
Fruit all sank to the bottom of the jar. You skipped or rushed the settling step. Let it sit in the pan for the full 15 minutes next time before ladling it in.
Storing Plum Jam
Sealed and unopened, this keeps in a cool, dark cupboard for up to a year. Once you’ve opened a jar, move it to the fridge and use it within 4 to 6 weeks. Always label your jars with the date, it’s easy to forget which batch is which once you’ve got a few sitting in the cupboard.
What to Do With It
Toast and scones are the obvious choices, and they’re obvious for a reason. Beyond that, it’s good stirred through plain yoghurt or porridge, and it makes a genuinely good glaze if you warm a spoonful with a splash of vinegar and brush it over pork or chicken before roasting.
FAQs
How many jars does this recipe make?
About five standard 340g jars, or three to four larger 450g jars, from 1kg of plums and 1kg of sugar.
Do I need to peel the plums first?
No. The skins soften completely during the initial simmer and they add colour, texture, and extra pectin to the jam.
Can I use frozen plums?
Yes. You may need slightly less water, since frozen fruit releases more liquid as it thaws. Simmer as normal once thawed.
Why is my jam runny even after boiling it for ages?
It’s most likely the ripeness of the fruit. Very ripe plums have less natural pectin. If it’s still not setting after a couple of extra boils, a squeeze of lemon juice next time can help, since acidity supports the set too.
Can I reduce the amount of sugar?
Not without changing the outcome. This is a 1:1 preserve, and the sugar isn’t just for sweetness, it’s what sets the jam and keeps it shelf-stable. Cutting it back gives you something closer to a fruit compote that needs to be refrigerated and used quickly.
Do I need a sugar thermometer?
No, the cold plate test works fine and it’s what most home cooks use. A thermometer just gives you a number (105°C) instead of a wrinkle, but either method tells you the same thing.
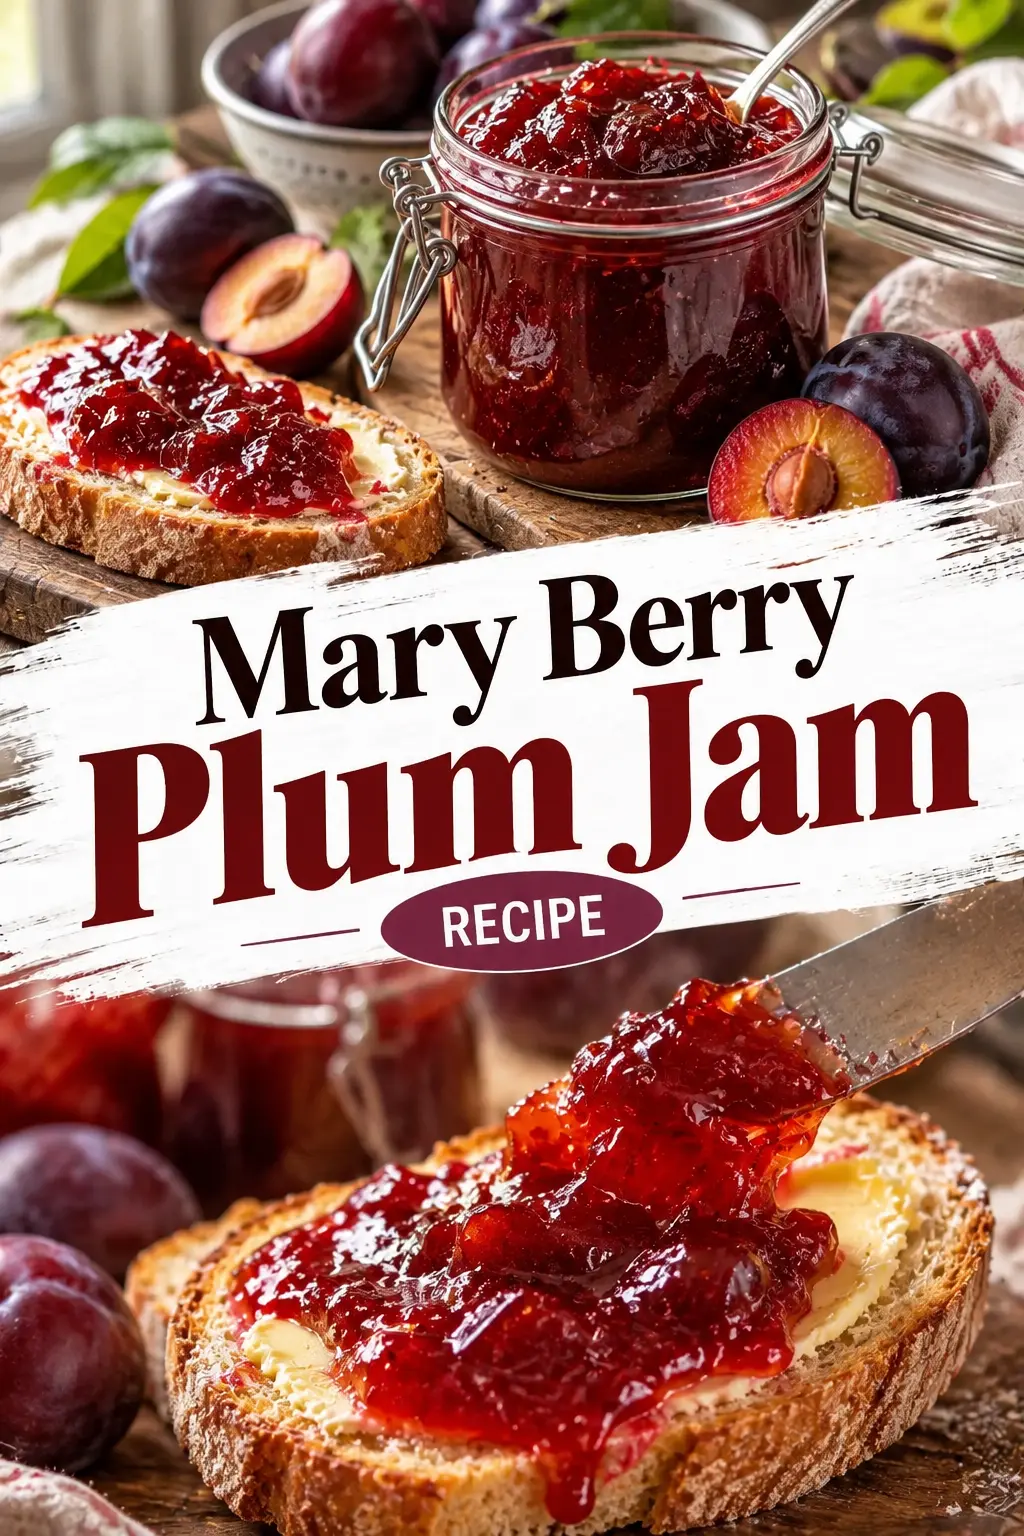

Mary Berry Plum Jam
Ingredients
Equipment
Method
- Soften the fruit: Put the halved, stoned plums in a large pan with the water. Simmer for 10 to 15 minutes until the skins are completely soft.
- Dissolve the sugar: Add the sugar and stir over low heat until completely dissolved, with no grains left.
- Boil rapidly: Turn up the heat and boil for about 10 minutes at a full rolling boil, stirring occasionally.
- Test for set: Remove from heat. Spoon a little onto a chilled plate, wait 30 seconds, then push with your finger. If it wrinkles, it's set. If not, boil for 2 more minutes and retest.
- Finish with the butter: Stir in the knob of butter to clear the surface foam.
- Settle and pot: Let the jam stand for 15 minutes, then ladle into warm, sterilised jars and seal.
Notes
- Makes about 1.6 to 1.7kg of jam, roughly 5 standard 340g jars.
- Use slightly under-ripe, firm plums for the best natural pectin and a more reliable set.
- Sealed and unopened, keeps up to 1 year in a cool, dark place. Once opened, refrigerate and use within 4 to 6 weeks.
- Do not reduce the sugar. It’s essential for the set and shelf life, not just sweetness.
This is the second Mary Berry’s recipe I’ve properly tested since digging into her archive, after her curried parsnip soup, and the two couldn’t be more different, one’s a slow afternoon of watching a pan, the other’s done in 40 minutes on a weeknight. Both taught me the same thing though: her recipes tend to work exactly as written, which isn’t something you can say about every recipe online.
Nutrition Facts (per 1 tbsp, about 20g)
| Field | Value |
|---|---|
| Calories | 50 kcal |
| Carbohydrates | 13 g |
| Sugar | 12 g |
| Fat | 0 g |
| Protein | 0 g |
| Fiber | 0.2 g |
Note: Estimates only. Values will vary slightly with plum variety and ripeness.
Made this Mary Berry’s plum jam? Leave a star rating and a comment below, it’s how this recipe gets found by other people searching for it, and how future versions get better. If you try one of the variations above, let me know how it turned out.



Leave a Reply